How to Draw a Scooter for Kids
Drawing can be a fun and creative activity for kids, and what better way to combine art with playfulness than by drawing a scooter? Scooters are not just a mode of transport; they represent freedom and adventure for many children. In this article, we'll guide you through the simple steps to draw a scooter that any kid can enjoy.
Step 1 Gather Your Materials
Before you start drawing, gather all the materials you'll need. Here's a list - A piece of paper - A pencil - An eraser - Colored pencils or markers (optional)
Once you have everything ready, find a comfortable and well-lit place to work.
Step 2 Basic Shapes
Start with the basic shapes. Begin by drawing two circles for the wheels at the bottom of your paper. Make sure they’re evenly spaced apart. Then, draw a long rectangle above the wheels. This will form the base of the scooter. It’s important to keep the rectangle wide enough to look sturdy.
Next, add a vertical line that goes up from the back wheel. This will represent the scooter's handlebar. At the top of this line, draw a horizontal line for the grip. You can make it slightly curved for a more dynamic look.
Step 3 Scooter Deck and Handlebars
Now, let’s refine the scooter deck. Round off the edges of the rectangle you drew earlier to make it look more like a scooter's deck. Then, draw a slightly curved line connecting the front of the rectangle to the handlebar. This gives the scooter a sleek look and makes it recognizable.
For the handlebars, add details like grips at the ends of the horizontal line you drew. You can add small circles or ovals to represent the grips, making the handlebars look more realistic.
lehuo how to draw scooter for kids

Step 4 Adding Details
Every scooter needs some unique details! You can draw designs on the deck, like stripes or stars, to make it fun. Consider adding a logo or initials on the deck, creating a scooter that's personal to the child or character you have in mind.
Additionally, you can add a kickstand by drawing a small line extending from the bottom of the deck to the ground. This gives the scooter a functional look.
Step 5 Outline and Erase
Once you’re satisfied with your drawing, take a darker pencil or pen to outline your scooter. Go over the lines you want to keep and erase any unnecessary pencil marks. This will help your scooter pop out on the page.
Step 6 Color Your Scooter
Now comes the fun part – coloring! Use your colored pencils or markers to bring your scooter to life. Choose bright colors like red, blue, or green to make it eye-catching. You could even use multiple colors for different parts, such as a bright deck with contrasting handlebars.
Encourage creativity! Kids can add stickers or patterns in their favorite colors.
Conclusion
Drawing a scooter can be an engaging and enjoyable task for kids. Not only does it allow them to express their creativity, but it also helps develop their fine motor skills and hand-eye coordination. Once they’ve mastered drawing a scooter, they can explore different designs and accessories, turning a simple scooter into a vibrant masterpiece!
So grab your paper and pencils, and let’s embark on this drawing adventure together! Whether you’re creating fun scooters for characters in stories or imagining your own designs, the sky's the limit when it comes to creativity. Happy drawing!
-

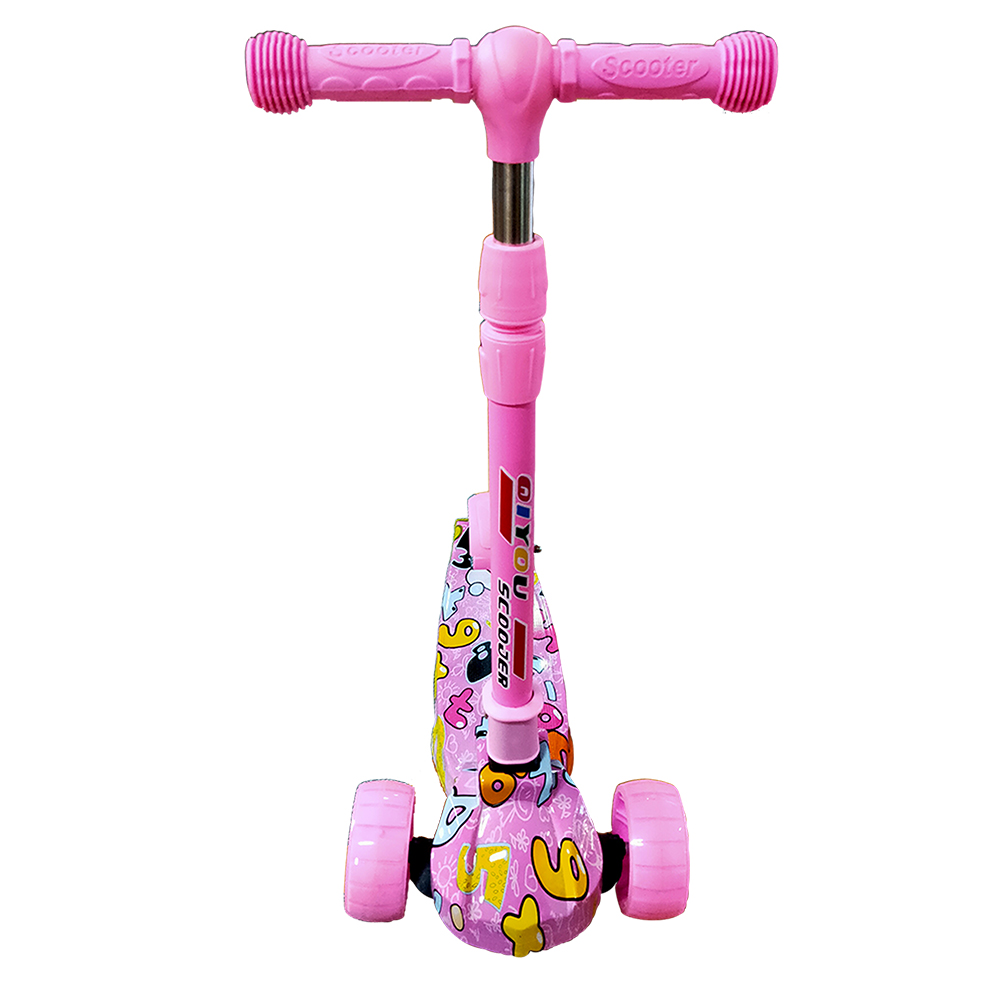
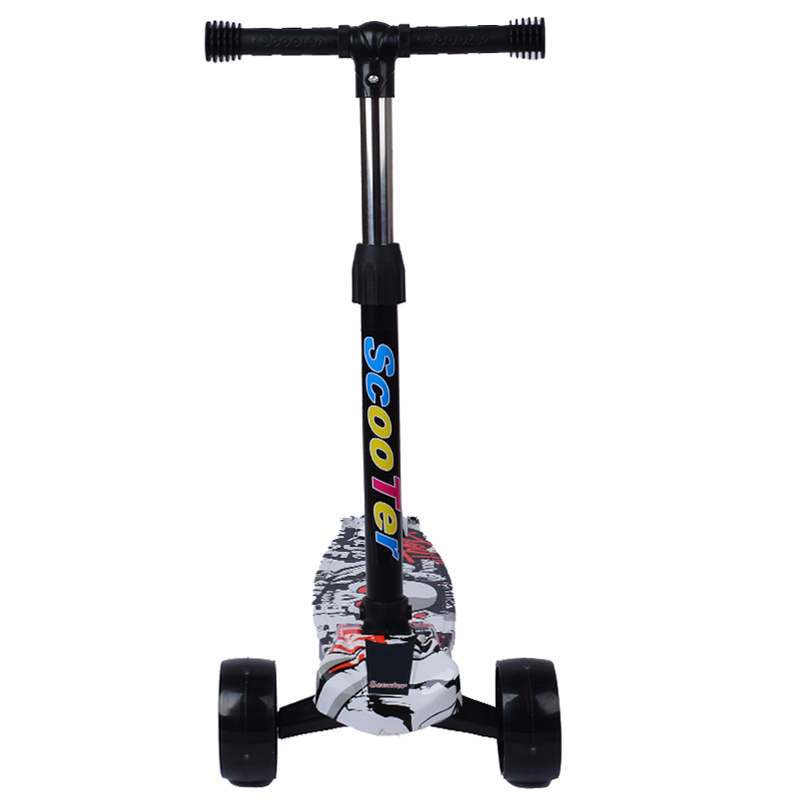
 Scoot&RideKids Child Kick Push Scooter 3 Wheels with LED Flashing Tilt Lean Boys Girls Scooter


- 4
$33.17 -

 Scoot&RideKids Scooter Child Kick Flashing LED Light Up 3 Wheel Push Adjustable Folding 3
- 0
$25.52 -

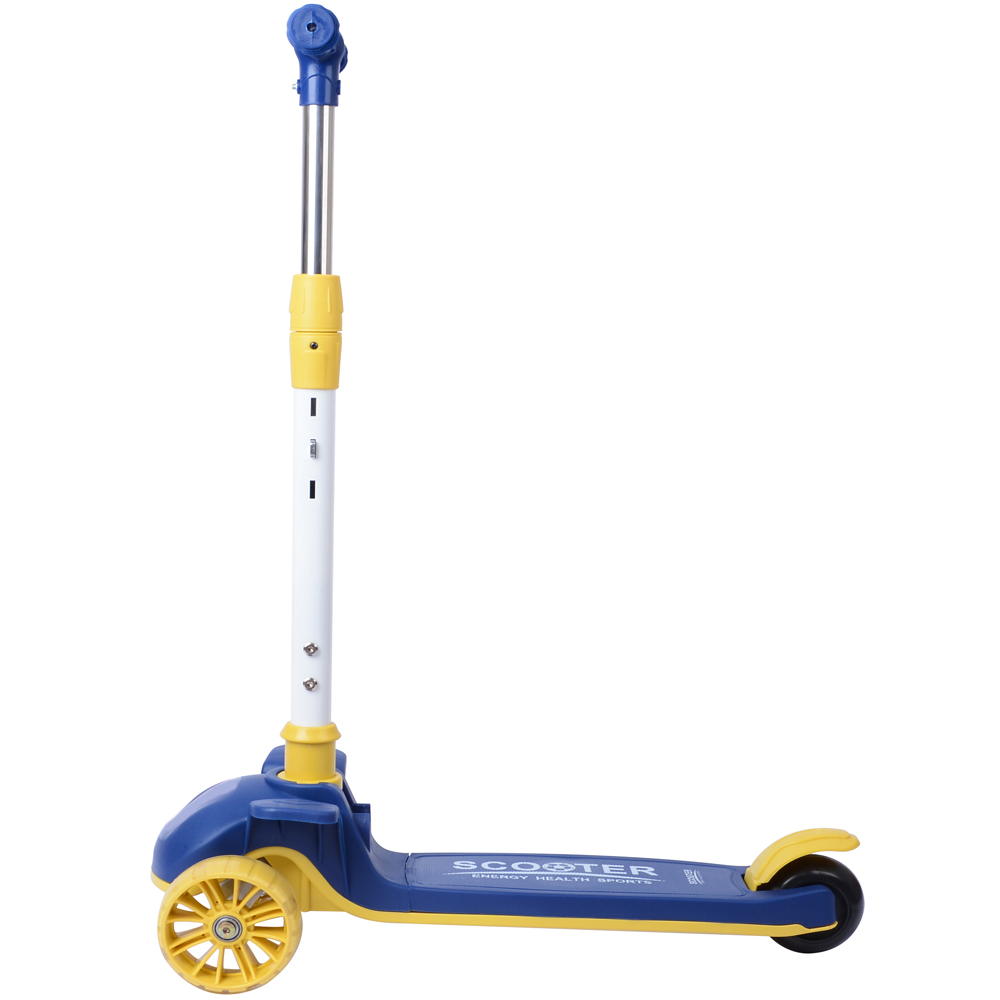
 Scoot&RideKids Scooter Child Kick Flashing LED Light Up 3 Wheel Push Adjustable Folding 2
- 0
$33.17 -

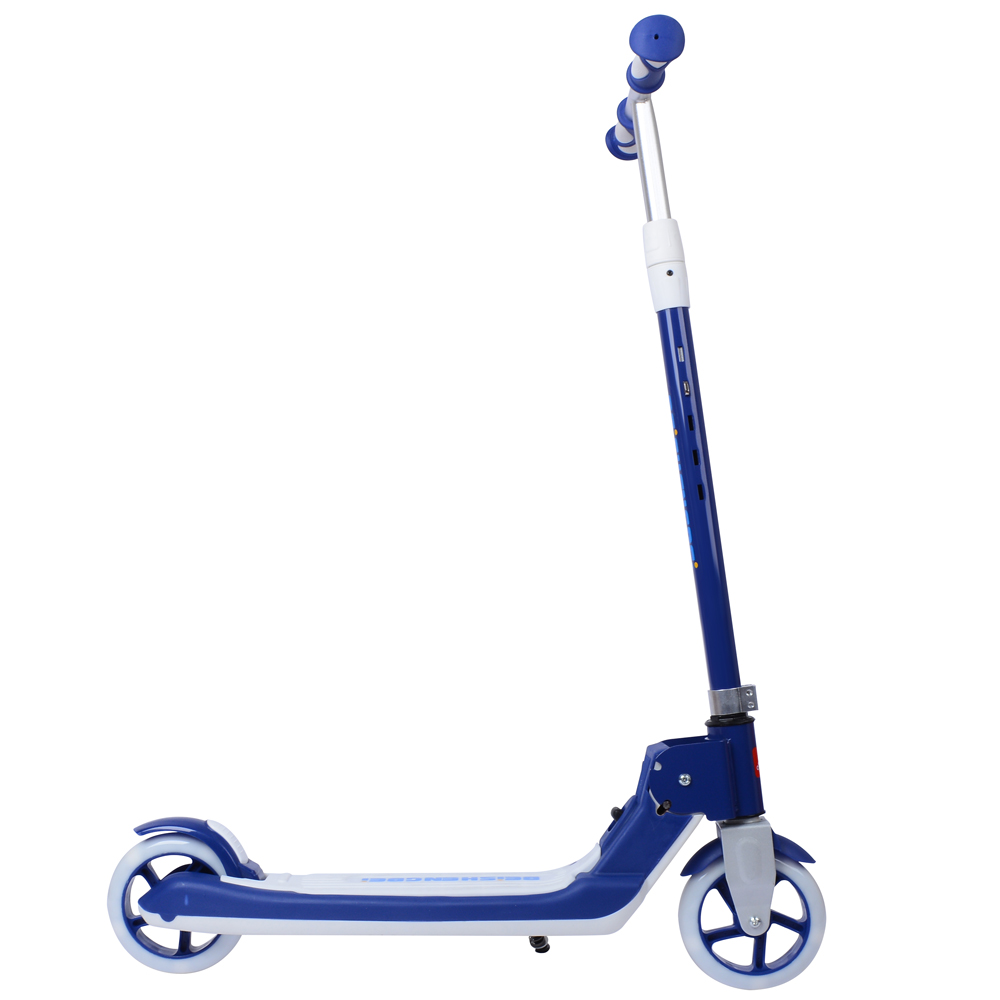
 Scoot&RideKids Scooter Teens Foldable Kick Push Scooter Adjustable Height Safe 2 Wheels


- 4
$49.99
Meet our partners and discover what powers their creativity!
When you register for a Lohas scooter, you will receive a 10% discount on your first order and can be notified of sales, new product launches and other offers in advance.


