How to Take a Kid's Scooter Apart for Travel
Traveling with kids can be a fun yet challenging experience, especially when it involves mobility aids like scooters. A kid’s scooter can facilitate transportation for your little ones, but making it travel-friendly often requires disassembly. This article will provide step-by-step instructions on how to take a kid's scooter apart for travel, ensuring that the process is both easy and efficient.
Step 1 Gather Your Tools
Before you start disassembling the scooter, it’s essential to have the right tools. Most scooters require a simple set of tools, which might include
- A Phillips screwdriver - An Allen wrench (if bolts are involved) - Adjustable wrench (for larger bolts) - A small bag to keep screws and small parts together
Make sure to have these tools handy to streamline the disassembly process.
Step 2 Assess the Scooter
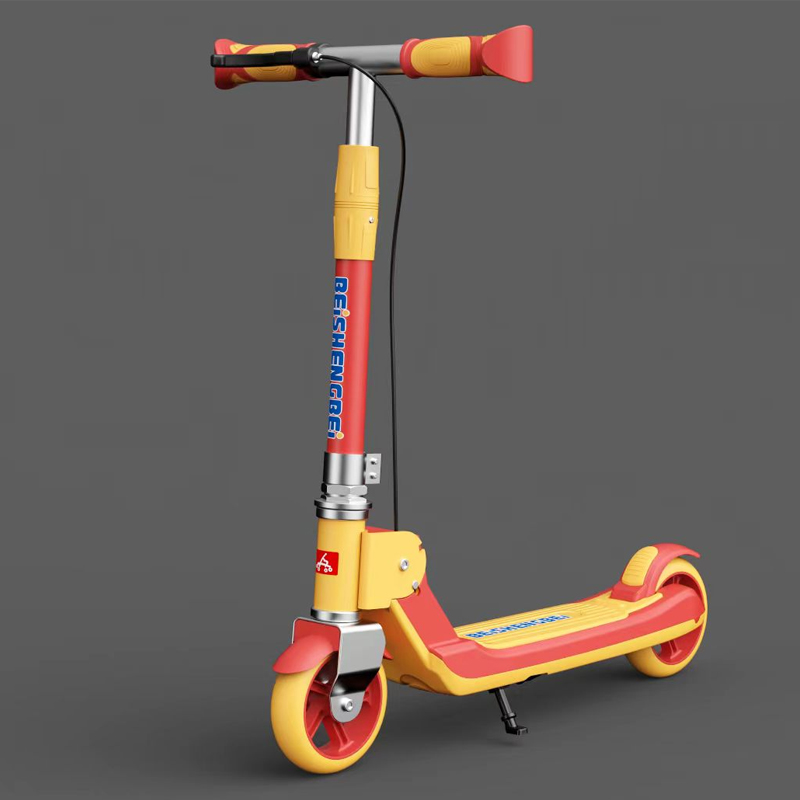
Take a good look at the scooter to understand its structure. Most kids’ scooters are simple in design, with a foldable mechanism or detachable parts. Identify areas such as the handlebar, deck, and rear wheel where disassembly can occur.
Step 3 Detach the Handlebar
The first step in taking the scooter apart is to remove the handlebar. Look for a quick-release mechanism or a screw that holds it in place.
1. If it has a quick-release lever, simply press it and pull the handlebar out. 2. If it requires a screwdriver or Allen wrench, unscrew the bolts carefully.
Place the handlebar in your travel bag, taking care to keep any screws or small parts safely in a designated spot.
Step 4 Fold the Deck
Many scooters have a folding deck feature designed specifically for travel and storage
. To fold the decklehuo how to take a kids scooter apart for travel
1. Locate the folding mechanism, which is usually at the rear of the footplate. 2. Pull the release pin or lever, engaging the folding action. 3. Fold the deck toward the rear wheel until it locks into place.
This step not only saves space but also makes it easier to carry, especially when navigating through busy airports or train stations.
Step 5 Remove the Rear Wheel (Optional)
In some cases, removing the rear wheel can further reduce the overall size of the scooter. This is not always necessary, but if you're struggling for space, it might be a good option.
1. Use an adjustable wrench to loosen the nut on the rear wheel. 2. Once it's free, slide the wheel off the axle and set it aside.
Again, keep any hardware organized to prevent losing any critical components.
Step 6 Pack the Scooter
Now that the scooter is disassembled, it’s time to pack it for travel.
- Begin with the deck and handlebar. Depending on the size of the travel bag you are using, position these components to maximize space. - If you removed the rear wheel, place it next to the deck, ensuring that it doesn’t get damaged during transit. - Utilize smaller bags or pouches to hold the screws and small parts so that everything stays together.
Step 7 Check Your Travel Bag
Before heading out, double-check your travel bag to ensure that all components are securely packed. It is also a good idea to ensure that you can easily access the scooter parts when you reach your destination, especially if you need to reassemble it on the go.
In Conclusion
Taking a kid's scooter apart for travel is a straightforward process that can make your journey a lot easier. By following these simple steps, you can ensure that your child's scooter is safely stored and easily transported. This way, you can focus more on enjoying your trip and less on the logistics of traveling with your child’s gear. Happy travels!

-

 Scoot&RideKids Child Kick Push Scooter 3 Wheels with LED Flashing Tilt Lean Boys Girls Scooter
- 4
$33.17 -
 Scoot&RideKids Scooter Child Kick Flashing LED Light Up 3 Wheel Push Adjustable Folding 3
- 0
$25.52 -
 Scoot&RideKids Scooter Child Kick Flashing LED Light Up 3 Wheel Push Adjustable Folding 2
- 0
$33.17 -
 Scoot&RideKids Scooter Teens Foldable Kick Push Scooter Adjustable Height Safe 2 Wheels
- 4
$49.99
Meet our partners and discover what powers their creativity!
When you register for a Lohas scooter, you will receive a 10% discount on your first order and can be notified of sales, new product launches and other offers in advance.