How to Draw a Scooter for Kids A Step-by-Step Guide
Drawing can be a fun and exciting activity for kids, and what better subject than a scooter? Scooters are colorful, vibrant, and full of movement, which makes them perfect for artistic expression. In this guide, we will take you through a simple step-by-step process to help children learn how to draw a scooter. All you need is some paper, a pencil, and your imagination!
Step 1 Gather Your Materials
Before we start drawing, let’s make sure you have everything you need. You will require - A blank sheet of paper - A pencil (or colored pencils, markers if you want to add color later) - An eraser (in case you want to correct anything)
Step 2 Draw the Wheels
Begin by drawing two circles for the wheels at the bottom of your page. Make sure they are large enough so that they will stand out. You can make them slightly larger than a regular coin. These circles will be the base of your scooter, so take your time to make them nice and round.
Step 3 Create the Scooter Deck
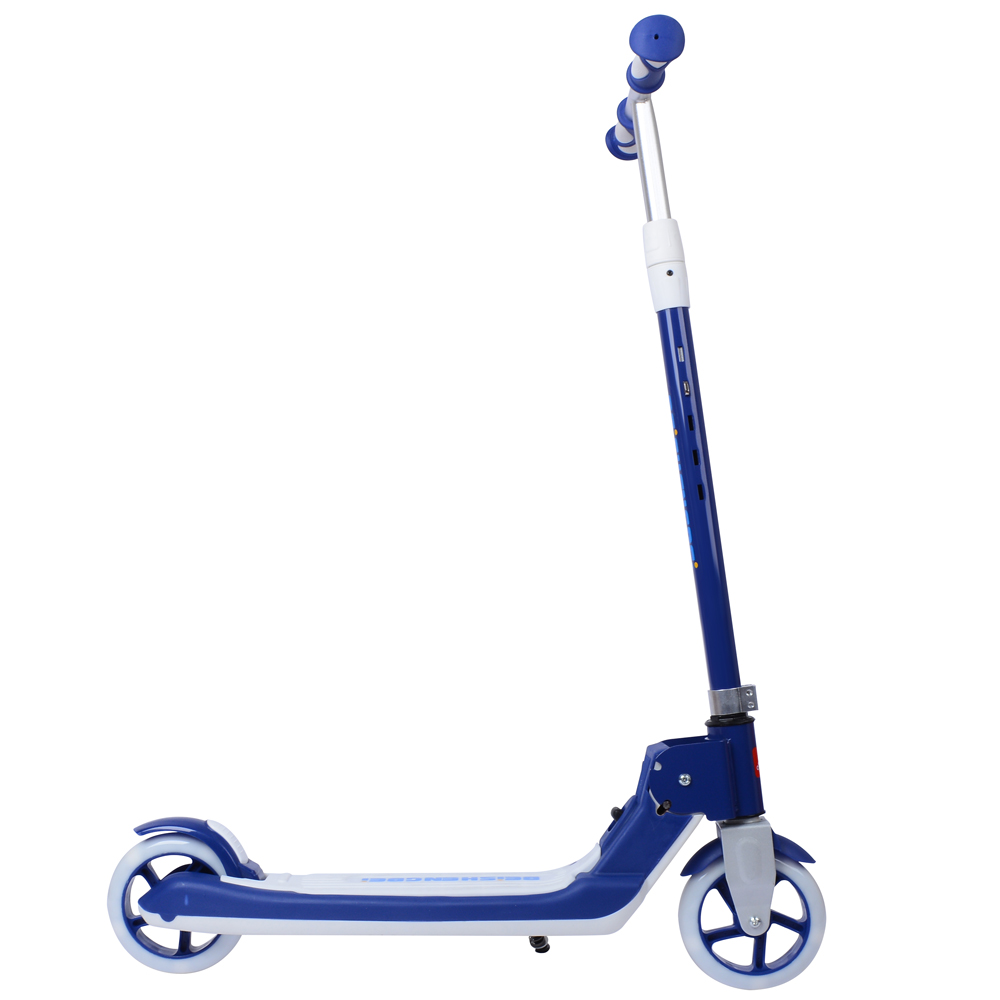
Next, draw a rectangle connecting the two wheels. This will be the scooter deck or the part where the rider stands. The rectangle should be longer than it is tall, resembling a skateboard’s shape. Ensure that it’s centered between the two wheels, allowing ample space for design and creativity.
Step 4 Add the Scooter Handlebar
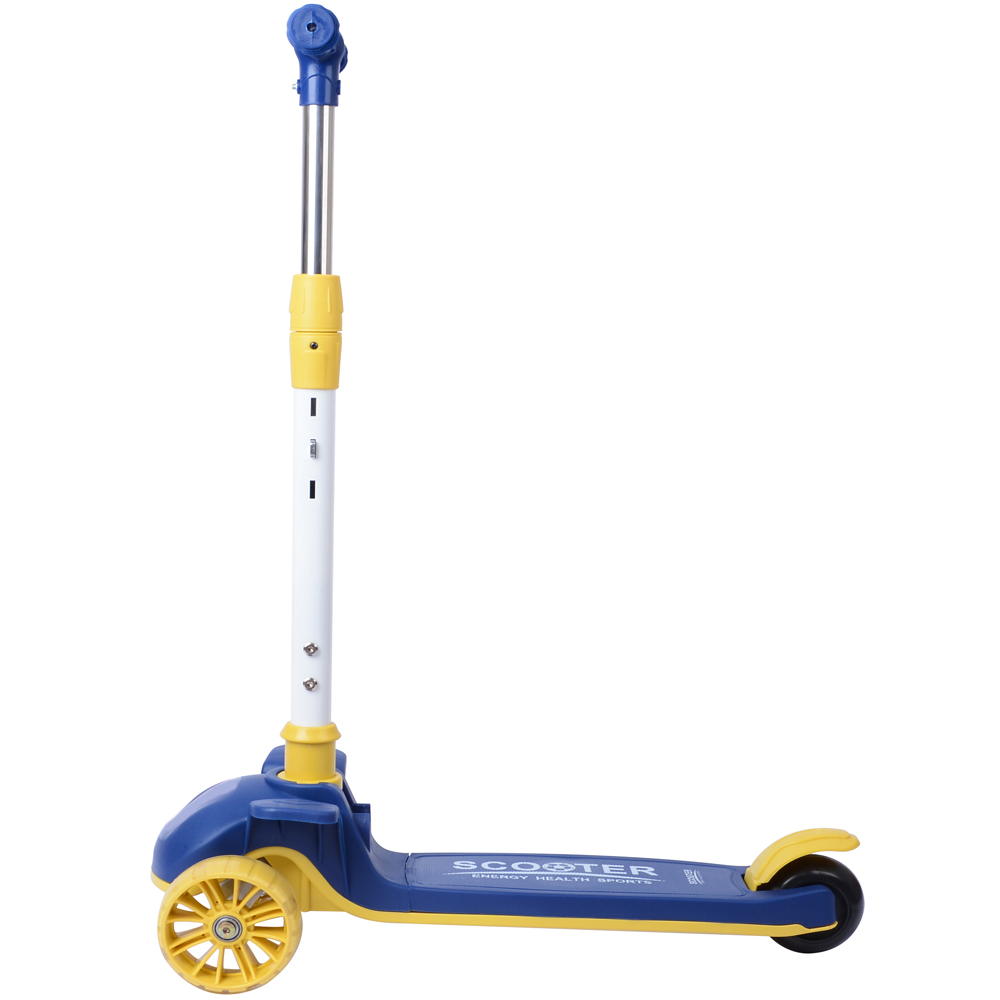
At the front of the deck, you need to add the handlebar. Start by drawing two vertical lines that rise from the deck to a height that seems appropriate for the rider, around the size of their waist. Then, create a horizontal line at the top to connect these two vertical lines. You can add some details like grips to enhance the handlebars.
how to draw scooter for kids

Step 5 Sketching the Scooter’s Body
Now that your wheel, deck, and handlebars are in place, it’s time to add some details to the scooter’s body. Draw two diagonal lines from the back of the scooter deck towards the back wheel, similar to an inverted triangle shape. These lines will give the scooter its shape and structure. You can also add a subtle line to indicate where the brake might be located.
Step 6 Creating the Kickstand
Every scooter needs a kickstand! Draw a small line that extends from the scooter deck to the ground at an angle. A simple representation will do—just make sure it connects to the scooter and the ground, allowing it to “stand” when not in use.
Step 7 Add Fun Details
This is the part where your creativity shines! Add details like stickers, a unique design on the scooter deck, or even some cool patterns. You can also draw a rider if you like! Just remember, it doesn’t need to be perfect; it’s all about having fun.
Step 8 Outline and Color
Once you’re happy with your scooter drawing, it’s time to outline it with a darker pencil or a black marker. This will help your scooter stand out. After that, use colored pencils or markers to fill in the colors. Bright colors like blue, red, yellow, or green can make your scooter look lively and attractive!
Conclusion
Congratulations! You have successfully drawn a scooter! Remember, the key to drawing is practice and experimentation. Each time you draw, you will improve your skills and learn to add even more details. Share your creations with friends and family, and encourage them to try drawing as well. Drawing a scooter is not just about the final piece; it’s about the joy of expressing art. So, grab your materials and start drawing today!
-

 Scoot&RideKids Child Kick Push Scooter 3 Wheels with LED Flashing Tilt Lean Boys Girls Scooter


- 4
$33.17 -

 Scoot&RideKids Scooter Child Kick Flashing LED Light Up 3 Wheel Push Adjustable Folding 3
- 0
$25.52 -

 Scoot&RideKids Scooter Child Kick Flashing LED Light Up 3 Wheel Push Adjustable Folding 2
- 0
$33.17 -

 Scoot&RideKids Scooter Teens Foldable Kick Push Scooter Adjustable Height Safe 2 Wheels


- 4
$49.99
Meet our partners and discover what powers their creativity!
When you register for a Lohas scooter, you will receive a 10% discount on your first order and can be notified of sales, new product launches and other offers in advance.


